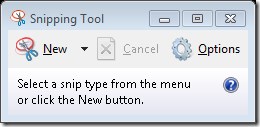
Office Snipping Tool for creating documentation screen grabs - screen shot of the Snipping Tool
The sniping tool is a handy tool that was introduced into the windows operating system and is one of the tools I most frequently use in windows. It is useful when creating documentation for Dynamics GP processes and other software documentation.
Recently I wanted to take a screen shot of the snipping tool itself, but for good reasons the Snipping Tool will not take screen shots of itself (it probably cause a worm hole to open up in space and time).
Durwin Brown suggested I use the office snipping tool to achieve my goal.
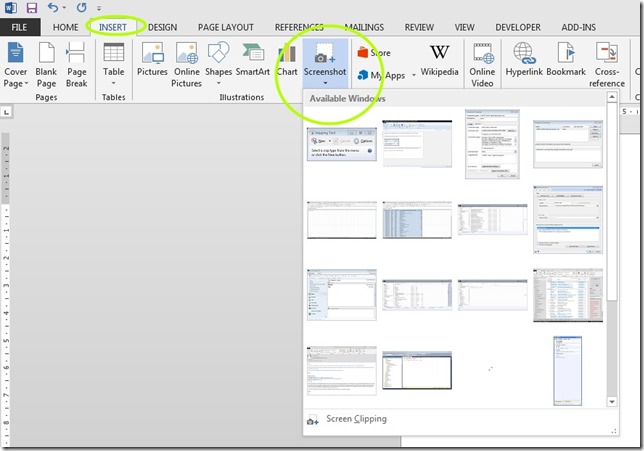
Below I show the example with Word, but this can be done from the insert menu of Outlook and other applications in the Office suite.
The word screenshot button when clicked shows all the available windows currently open on the computer, saving having to hunt the window down in the Z order of windows currently open as would have to be done with the Snipping Tool. This alone makes it easier to use when ploughing through documentation of a process using screenshots. Before going back this tool, I had not realised this is the advantage of the in built functionality over the Snipping Tool and I will change my usage going forward.
At the bottom you see “Screen Clipping” this is the cross hair, select a region style screenshotting we are used to with the Snipping Tool, but the content goes right into the office document.
A great tool if you have lots of documentation to create in a hurry, the integrated nature of this screenshot makes the whole process feel a little slicker than using the free-standing Snipping Tool.
This, as you can see from the first image in this post, allowed me to grab the screenshot of the Snipping Tool that I was originally after.


